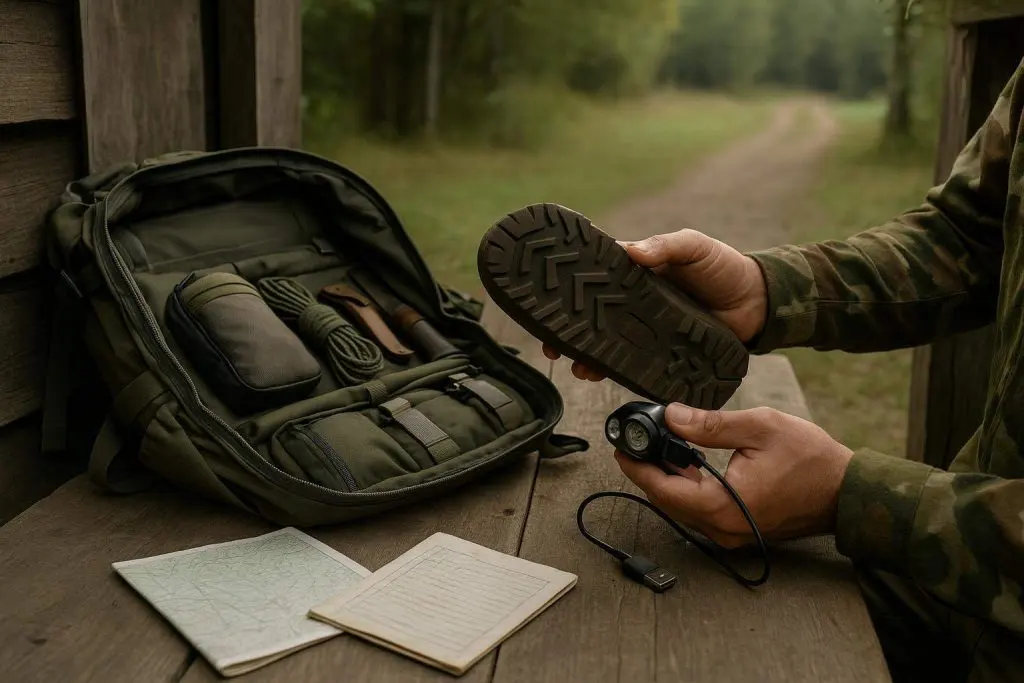
Photographing Used Outdoor Gear So Buyers Can See Its Condition
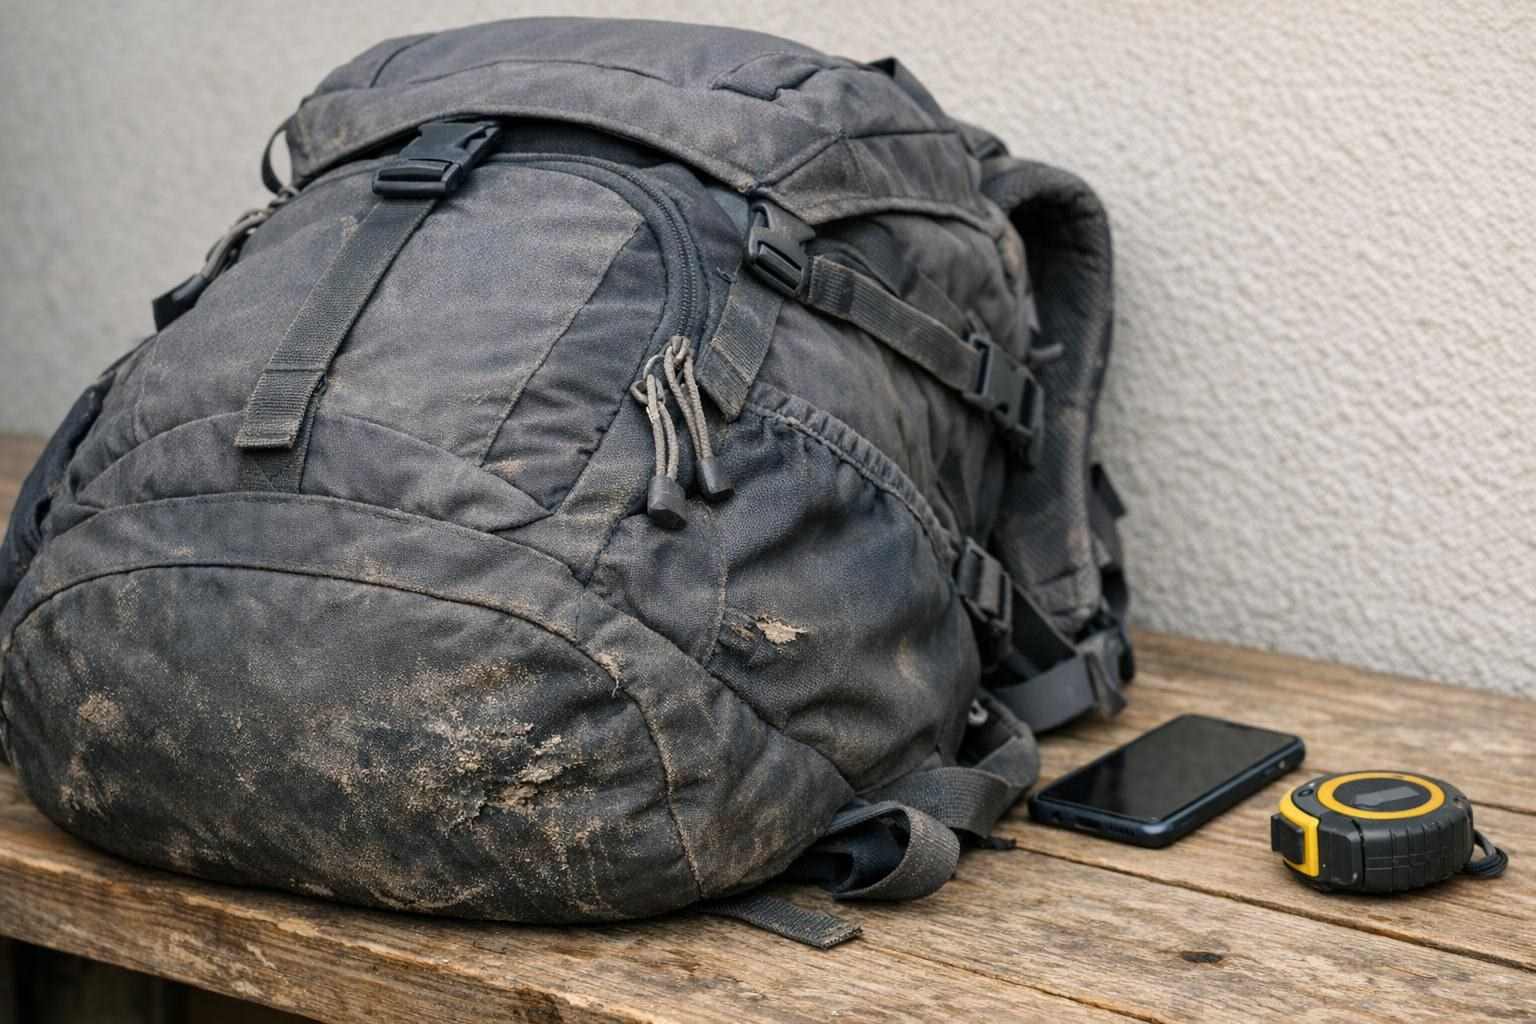
Even the most worn camping equipment can have lots of life left in it, and the images you use online should help buyers understand the wear and tear as well as the construction, any included accessories, and the scale of the item. The main challenge of photographing camping gear for sale online is to find a balance between setting up the item for a photo and showing it in its true worn state. Using a small area, a fixed position, and checking for any problem areas can help to create good clear images for online sales.
Start with a clean, neutral setup
The images should be shot against a simple background. Ideally this would be a blank wall, but also a white sheet, a workbench or even the ground with a clean patch of it. The background should not hide any stains or scuffs on the item.
While it is necessary to clean the item for good photos, you should refrain from further altering it. Brush off loose dirt, wipe off dust and grime from zippers and buckles, and scrape off surface mud from shoes. Avoid polishing scratched metal so that they become shiny, or apply products to worn-out fabric that would darken them even more.
Don't have overly harsh overhead lighting in your images – like above a window for example. Instead use the lighting from the side of a room or outside with the item in the shade of a branch or foliage – but not so that it creates many folds or "dappled" shadows on fabric etc. with surface marks etc. showing up clearly.
Build a useful opening frame
Image 1 should show all of the items you intend to sell. Packages and parts should all be included (stove, stakes, poles, tent, rain cover, fuel bottle, sheath, straps, repair pieces, etc.). If something shown is NOT included then do not include it in the photos for the rest of the listing. Comment on it in the body of the listing instead.
For items that are largely flat, such as sleeping bags, rugs, bags, map cases, take a photograph looking straight at the item. Items such as tents, rucksacks, stoves, camping equipment take a photograph from the side, at about a 3 o'clock position. This allows buyers to see the curvature of the item and get a better sense of its size. Leave sufficient space around the edges of the image to allow the item to be clearly seen and avoid cropping.
Photograph from the same height as the item. A view from directly below is best for flat items, and from the side for backpacks and tents. A view from the opposite side is more useful than a badly edited single image.
Show wear where it actually matters
I don't want the viewer to have to look at lots of views of the same thing but rather to view the areas of greatest use. A rucksack for example would need shots of the base, the shoulder straps, the hip belt, the zippers and any compression involved. The inner coating too would need to be visible. A tent would need the floor, the seams, the mesh, the poles and any repaired or stretched areas. A stove or lantern would need views of the control area, the fuel connection, the burner or mantle and any signs of corrosion. Take these views while safely handling the item and follow current official guidance where relevant.
For large or complex damage to an item it's better to show this in close-up, and also in a wider view of where on the item this occurs. A small tear near high-load stitching is very different to a minor nick in an area of low stress. Rather than describing an item with 'minor wear' include images to support a more accurate description.
Allow scratch, abrasion and raised stitch marks to show up well in the photos using side lighting rather than Tudor style rear lighting. Avoid very contrasty backgrounds to dark fabrics as they will appear to be featureless black items in the photos. If a mark disappears in different lighting then it is likely to disappear in the viewer's eyes too and so should not be hidden in the photos.
Make materials and scale readable
Photos can also give a wrong idea of the size of the item for sale. Therefore, include a familiar object only if it really helps to establish the size and is not misleading as to what is included in the sale. Measuring tape or a straightedge against a ruler can be useful for indicating the size of a damaged area, a packed item, or something where the exact size is critical. State the measurement separately in the listing and rely on the manufacturer's label or your own careful measurement of the item.
Use different images to show off different properties of fabric, i.e. spread out flat to look at material, and then folded up to look at wear, coating etc. Photos of glossy items need to be taken at the right angle to avoid reflecting the room, and transparent items such as tent windows or hydration bladders need to be photographed against a plain background to show up any clouding or cracks.
Use a close-up view to display any labels or model markings on an item. Photograph the entire label or marking and make sure to capture the surrounding construction. A label does not prove that an item is complete for example an old tag on a second-hand tent does not mean that the tent has all the poles.
Use editing to clarify, not conceal
There are a number of basic alterations that you can make to your used outdoor gear photographs to make them better. The pictures can be cropped and the images straightened. Also the exposure can be adjusted so that the images look similar to the actual gear. The colors should be kept relatively muted. A highly warmed image of a stained item will show up the stain more than you would like and images that have been over sharpened will show up weaves in clothing and the mesh in shelters etc.
Don't edit out wear. Also avoid using 'edit filters' that will flatten out shadows on seams and in pockets. It's a good idea to bring images taken with different lighting setups under similar lighting first so that they can be compared easily by buyers later.
In checking your final images it is helpful to check how they look on a bigger screen. An item's flaws may disappear when you reduce the images to listing thumbnails and therefore must be described in the text of the listing as well as shown in the images.
Pair the images with a candid description
Photos and text are best used in combination to ensure that the only thing you need to say about the gear is how it was used, where it developed its wear, what repairs have been done to it and what accessories are included with it. For example, you might say that a tent's strut has been reinforced with wire or that a stove's pump is defective, rather than imply that you tested these things.
When listing safety related items (e.g. things connected to water, fuel, shelter, climbing etc.), special care should be taken over the condition description. It may be that the item needs to be inspected before use by the buyer, and the requirements for and safety guidance for that item may change over time. Make sure you are completely confident before listing an item as ready for use.
Be sure to compare your images with the corresponding text prior to posting the ad. Yes, the images for your used outdoor gear may not be as 'attractive' as you had hoped, but they are of greater value than the appeals to 'be honest' seen in many used gear ads.

Related Posts
When the Map Changes: A Better Way to Verify Hunting Regulations Before You Go